Naming and describing a rental item
The item's name, photos, SKU, category, and public description — the first tab when you create or edit an item.
Where to find it
Fleet → open an item (or Create New) → Identity tab
The Identity tab is the first step in setting up a rental item: its name, photos, category, and the basic description customers see.
Where to find it
Fleet → open an item (or Create New) → Identity tab (step 1 of 6).
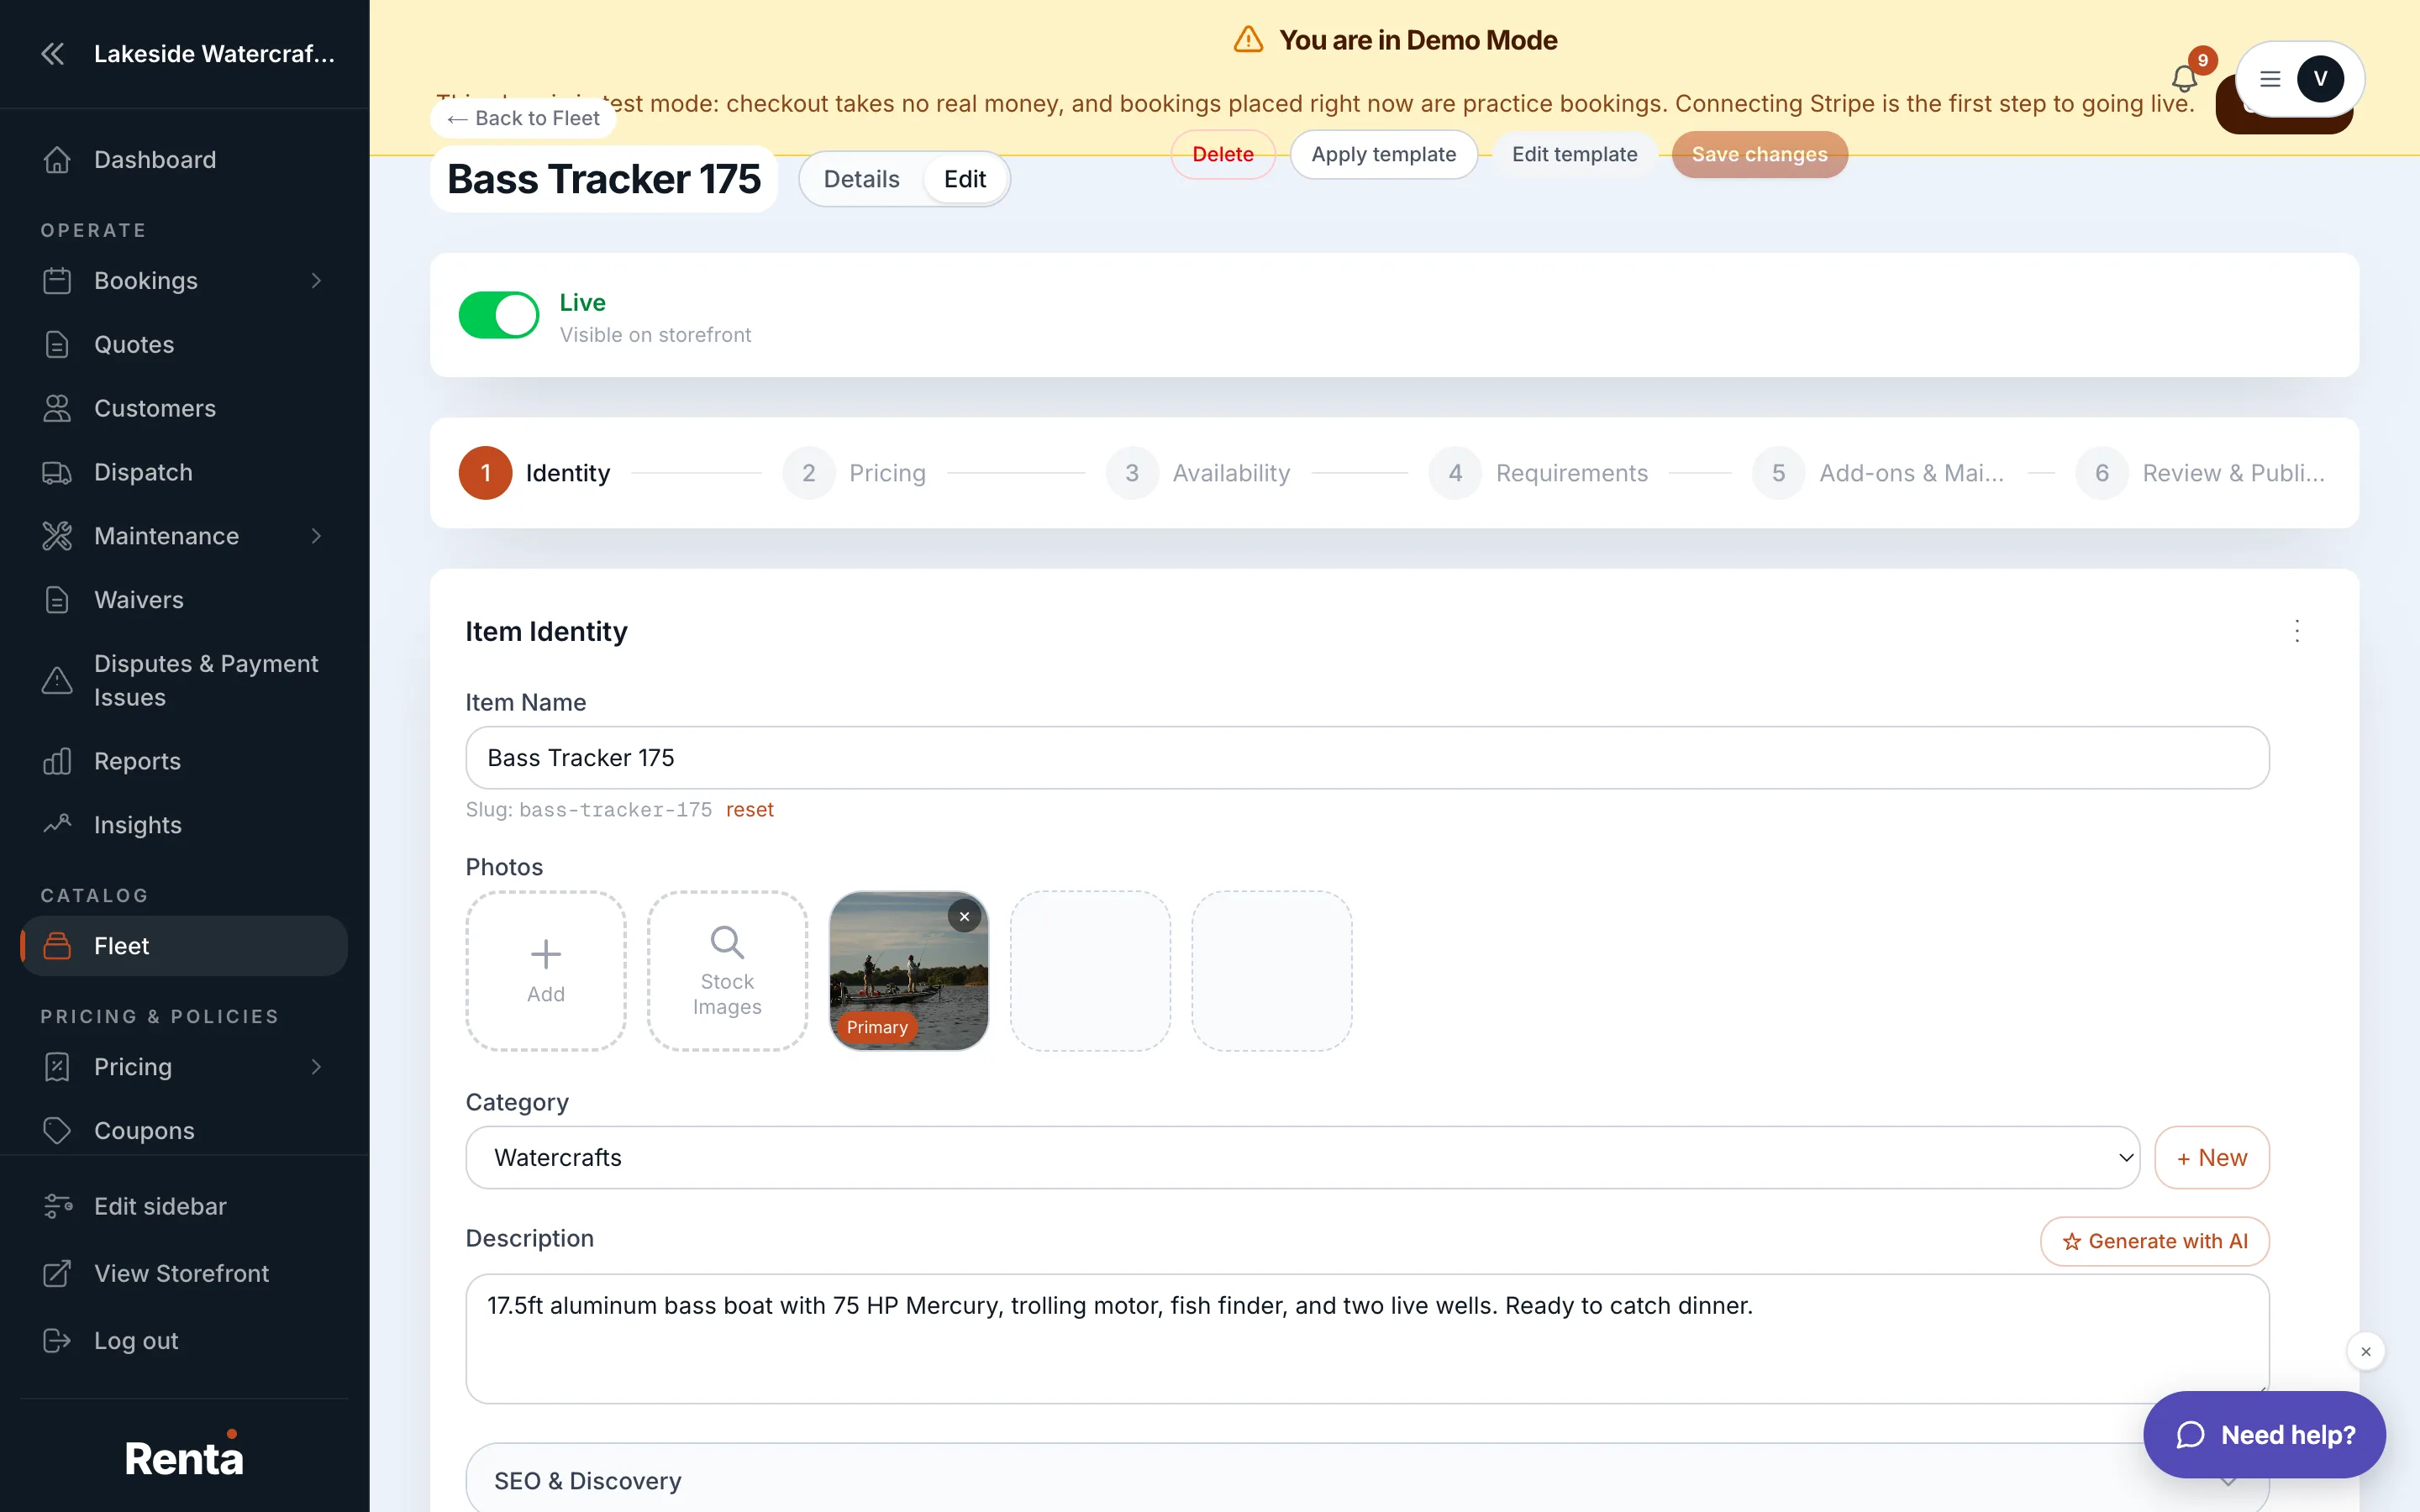 The Identity tab of a fleet item
How it works
- Item Name & Slug — the item's display name; a web-friendly slug is generated from it automatically. Required.
- SKU — your own internal code or the manufacturer's model number. Optional.
- Category — the group this item belongs to on your storefront. Required before you can publish.
- Description — the customer-facing explanation of the item, also used for search engine (SEO) descriptions. Optional.
- Main Photo Alt Text — text read aloud by screen readers for your primary photo. Optional, blank by default.
- Photos — your primary photo plus additional images; drag to reorder.
- Unsplash Search — an experimental tool to find and insert free stock photos if you don't have your own yet.
- Tags — customer-visible labels for filtering; pick from your tenant's existing tags with autocomplete.
- Pickup Location — where customers pick this item up, shown on the storefront.
- Public/Live toggle — controls whether the item shows on your storefront, separate from whether you're still editing it as a draft.
Good to know
- Publishing an item needs both a Category and completed pricing — see Publishing an item to your storefront.
- Tags here are the same tags managed on the Tags page — create new ones there if the one you want doesn't exist yet.
Related
Still stuck? Ask the chat.